Guide · Guides
How to clean and sanitize nail drill bits
Four stages, and acetone is only the first. A clogged bit is also a heat hazard, so this is a safety job as well as a hygiene one.
Written by Janet H. · Owner, Janet Media Group
Published
Tip & Topcoat is reader-supported. Product links go through our affiliate resolver and we may earn a commission from qualifying purchases, at no extra cost to you. Prices come from Amazon's API, carry the date they were read, and change constantly — the button always opens the current price on Amazon.
Part of the guides hub.
How to clean and disinfect nail drill bits · 5 steps
Step 01
Brush the debris off dry
Scrub the bit with a stiff nylon or wire brush to remove gel dust and product chunks. A disinfectant cannot reach metal it cannot touch.
Step 02
Soak in acetone to dissolve product
Soak the bit in acetone to lift cured gel or acrylic residue out of the cutting flutes. This is cleaning, not disinfection.
Step 03
Wash with soap and water, then rinse
Scrub with a brush and soap, then rinse thoroughly. Any acetone or soap film left behind interferes with the disinfectant.
Step 04
Immerse in disinfectant for the full contact time
Completely immerse the bits in an EPA-registered hospital-grade disinfectant, or 70% isopropyl alcohol or a 10% bleach solution for ten minutes. Follow the label; do not guess at the time.
Step 05
Rinse, dry and store covered
Rinse in clean running water, let the bits dry fully in a dust-free area, and store them in a clean, dry, covered but not sealed container.
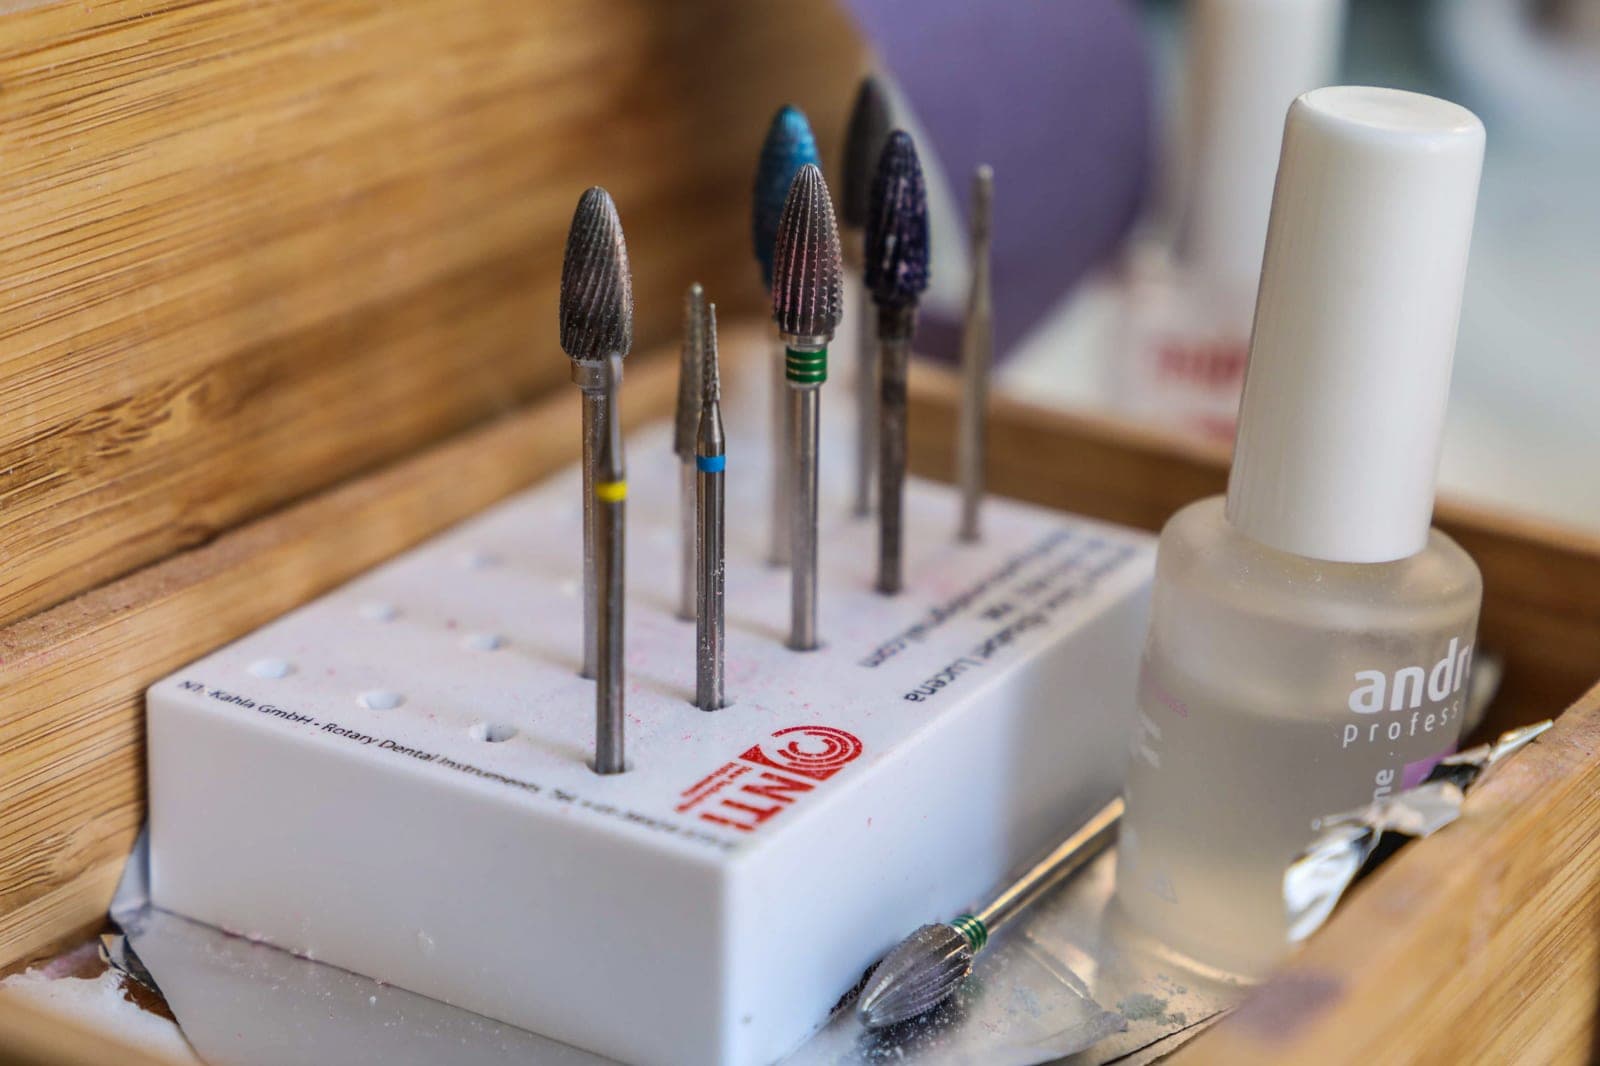
Cleaning and disinfecting are two different jobs
This is the distinction that makes the whole process make sense, and almost every home user collapses it into one step.
Cleaning removes visible material: gel dust, acrylic residue, nail filings. It is mechanical and chemical, and acetone does most of it.
Disinfecting kills the microorganisms on the surface underneath. It requires a disinfectant to be in wet contact with clean metal for a specified length of time.
The order is not negotiable, because a disinfectant cannot work through a layer of cured gel dust — it has to touch the metal. That is why a bit dunked straight into disinfectant while still gunked up is neither clean nor disinfected, just wet.
The protocol, and where the numbers come from
The sequence above is the one professional practice follows, and the two parts people most often get wrong are the pre-clean and the contact time.
On the pre-clean: metal bits are soaked in acetone to remove nail product, then washed with a brush and soap and water and rinsed before they go into disinfectant. On contact time, the industry's own guidance for files and bits is to submerge completely in either a 10% bleach solution or 70% isopropyl alcohol for ten minutes, then rinse thoroughly in clean running water and dry in a dust-free area, stored afterwards in a clean, dry, covered but not sealed container.
Nail Knowledge is also blunt about the point that matters most here: e-file bits require the same cleaning and disinfecting protocols between clients, and acetone alone is insufficient. Swap "clients" for "uses" and "between people in the house" and it reads correctly for a home user.
What this means for one person at home
A home user is not running a salon and the realistic risk profile is different, so here is the proportionate version.
If only you ever use the bits. Clean after every use — brush, acetone, soap and water, dry. Disinfect periodically, and always after any work on a toenail. You are not cross-infecting anyone, but you are still putting bits back into a drawer where whatever is on them survives until next time.
If anyone else uses them. Full protocol, every time, between people. A nail drill moved between two people without disinfection is a direct transfer route for fungal and bacterial nail infections, and nail fungus is markedly easier to pass on than to treat.
After any toenail work, every time. Toenails are where fungal infection is common, and the dust is the carrier. If you have filed a thick toenail — see the thick toenail page — the bits get the full protocol before they touch a fingernail.
The safety argument: a clogged bit is a burn risk
Hygiene is the reason people look this up. Heat is the reason it actually matters for your nails.
A bit's cutting edges work by removing material in small chips. When the flutes clog with cured gel dust, the edges stop cutting and start rubbing — and rubbing converts the motor's energy into friction heat at the nail surface. That heat travels into the nail bed, and the resulting damage pattern is the one the trade calls rings of fire.
The behavioral tell is unmistakable once you know it: you find yourself pressing harder. That is always a clogged or blunt bit, and the fix is to clean it or replace it — not to push. NAILS Magazine makes the same point in its e-file fundamentals: the machine and the bit have to be maintained for technique to mean anything.
So the cleaning routine is also a performance routine. A clean ceramic bit at moderate speed removes more product with less heat than a clogged one at full speed, every time.
Five things not to do
- Do not leave bits soaking in acetone indefinitely. It does not improve with time, and prolonged soaking can degrade coatings and any adhesive holding a diamond grit on.
- Do not put ceramic bits anywhere they can be dropped on tile. Ceramic runs cooler than carbide and chips if dropped on a hard floor. Clean them over a towel.
- Do not store bits wet or in a sealed box. Dry fully, then store covered but not airtight — trapped moisture is its own problem.
- Do not try to disinfect a disintegrating bit. Industry guidance is that items that fall apart during cleaning should be discarded, not reused. A bit that is shedding grit is finished.
- Do not forget the handpiece. Dust gets inside the chuck. Wipe the handpiece down, and if yours comes apart for cleaning, clean it on the schedule the manufacturer states.
When to replace instead of clean
Bits are consumables and the end of their life is not subtle.
Replace a bit when it stops cutting cleanly after a proper clean, when you catch yourself pressing to make it work, when the grit is visibly shedding, or when a ceramic bit has a chip in the cutting surface. A diamond or coated bit whose grit has worn smooth cannot be sharpened; it is just a spinning rod that generates heat.
A good ceramic safety set lasts a home user a long time, because a home user does far fewer hours than a salon. Which set is worth buying — and why the safety top matters more than the material — is in the drill bit roundup and the color and grit guide.
Picks
What makes this easy
Ceramic safety bits clean up far better than cheap coated ones, and a machine whose handpiece comes apart is a machine you can actually keep clean.
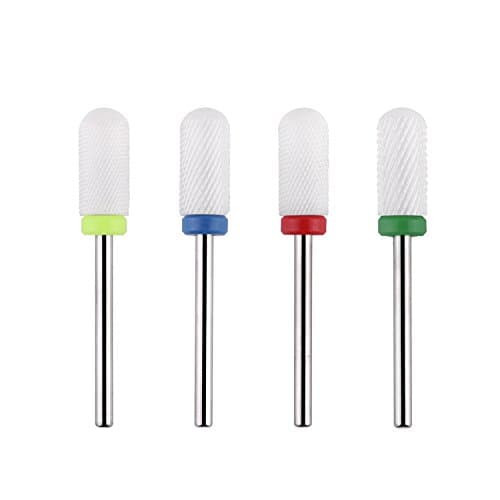
Taking gel and dip off without touching the skin
Makartt Ceramic Safety Nail Drill Bit Set
Ceramic safety bits in the standard 3/32 in shank — the rounded top is what keeps the bit off your cuticle.
- Shank
- 3/32 in (standard)
- Type
- Ceramic, safety (rounded) top
Skip ifSkip this if you are removing thick acrylic every week. Carbide cuts bulk faster and survives more abuse.
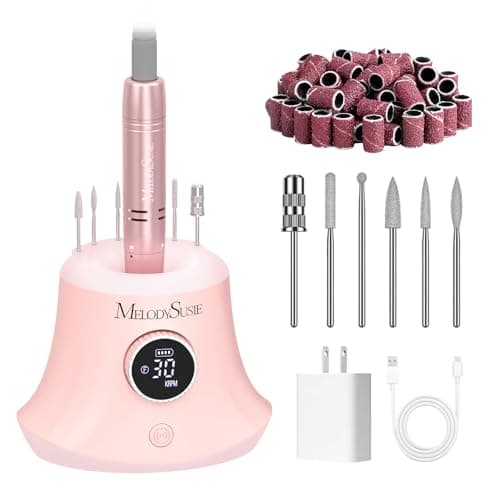
A first drill you will not immediately hurt yourself with
MelodySusie SC320G Rechargeable Nail Drill
Cordless, one-button forward/reverse, and a dial that genuinely starts near zero — the combination beginners need.
- Speed
- 0–30,000 RPM, dial
- Power
- 4000 mAh, 8–12 h per charge
Skip ifSkip this if you want a pedal so your free hand can steady the finger. The corded Scarlet has one.
FAQ
Frequently asked questions
How do you clean nail drill bits?
Brush the debris off dry, soak in acetone to dissolve cured product, wash with a brush and soap and water, rinse, then immerse in disinfectant for its full contact time. Dry fully and store covered.
Is acetone enough to disinfect drill bits?
No. Acetone dissolves nail product, which is cleaning. Industry guidance is explicit that e-file bits need the same disinfection protocol as other implements and that acetone alone is insufficient.
How long should drill bits soak in disinfectant?
Ten minutes fully submerged in 70% isopropyl alcohol or a 10% bleach solution, or whatever contact time the label on a commercial EPA-registered disinfectant states. A quick dip achieves nothing.
Can you use rubbing alcohol on nail drill bits?
Yes — 70% isopropyl alcohol with a full ten-minute immersion is one of the two home-practical options alongside a 10% bleach solution. Clean the product off first, or the alcohol never reaches the metal.
How often should I clean my nail drill bits?
Clean after every use, and disinfect whenever anyone else has used them and always after any toenail work. A clogged bit is also a heat hazard, so cleaning is a safety habit and not only a hygiene one.
Can you boil nail drill bits to sterilize them?
Boiling is not the recommended route and it will not help a ceramic or coated bit. Follow the clean-then-immerse protocol instead; stainless implements can go through an autoclave where one is available.
Keep reading
Related guides
- The best drill bits →
Ceramic cleans up best.
- Drill bit colors and grit →
Which band for which job.
- Are nail drills safe? →
The heat mechanism.
- Drills for thick toenails →
Where this matters most.
- How to use a nail drill →
Technique for each grit.
Sources
- —Nail Knowledge — how to clean and disinfect nail files · nailknowledge.org
- —NAILS Magazine — 5 things you should know about e-files · nailsmag.com
- —Scratch Magazine — rings of fire · scratchmagazine.co.uk
- —Makartt — nail drill bits · makartt.com
- —MelodySusie — SC320G · melodysusie.com