Guide · Guides
How to apply press-on nails
Nine steps. Two of them are the ones almost everybody skips, and they are the two that decide your wear time.
Written by Janet H. · Owner, Janet Media Group
Published
Tip & Topcoat is reader-supported. Product links go through our affiliate resolver and we may earn a commission from qualifying purchases, at no extra cost to you. Prices belong to the retailer and change constantly, so every button opens the live price on Amazon rather than showing you a number that may already be wrong.
Part of the guides hub.
Applying press-on nails · 9 steps
Step 01
Size every nail first
Lay the tips out and match one to each finger before applying anything. When between sizes, choose the smaller tip — an overhang catches and lifts.
Step 02
Wash and dry your hands
Wash with soap, then dry thoroughly. Any moisture left under the tip will break the bond.
Step 03
Push the cuticles back
Use the wooden stick from the kit to gently push back the cuticle. Do not cut it — that removes a barrier against infection.
Step 04
Shape and shorten your own nail
File your natural nail short and level. A tip glued over a long natural nail has less contact and more leverage against it.
Step 05
Buff the shine off lightly
One light pass with the fine side of a buffer. You are breaking the gloss to give the glue something to key into, not thinning the nail.
Step 06
Wipe with the prep pad
Wipe each nail with the prep pad or isopropyl alcohol. This removes surface oil, and skipping it is the single most common reason a set fails early.
Step 07
Apply glue to both surfaces
A thin layer on the back of the tip, edge to edge, and a thin layer on the natural nail. Full coverage thinly, not a thick dot in the middle.
Step 08
Press and hold
Position the tip just below the cuticle, press down firmly and hold for twenty to thirty seconds. Longer than feels necessary.
Step 09
File the sidewalls and wait
Run a fine file once along each sidewall to remove any overhang. Then keep your hands out of hot water for at least two hours.
The two steps that actually decide your wear time
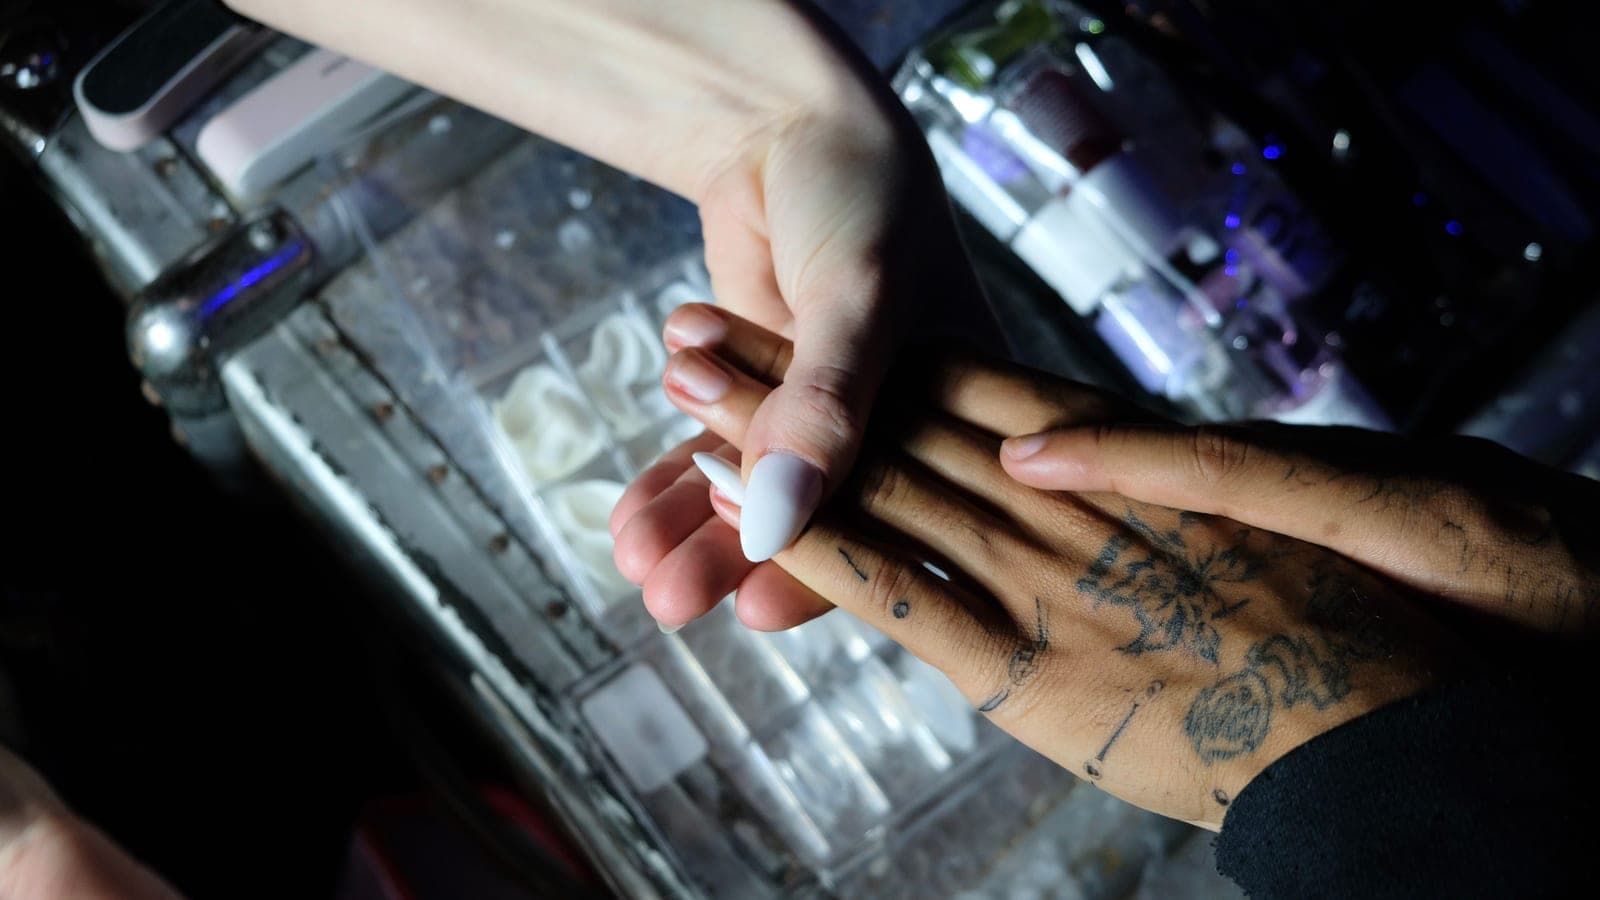
Of the nine steps above, two carry almost all the weight, and both are the ones people skip because they feel like preamble.
Step 6, the prep wipe. Natural nails carry a film of oil. Cyanoacrylate glue does not bond to oil. That is the entire explanation for most sets that lift on day two, and a ten-second wipe with the pad in the box fixes it.
Step 1, sizing. A tip wider than your nail leaves a lip at the sidewalls, and that lip catches on fabric, hair and pockets all day. Each catch levers against the bond. Sizing down rather than up is nearly always right — the exception is wide nail beds, where an oversized tip can be filed back but an undersized one leaves your own nail exposed.
If you are using tabs instead
The method is the same up to step 6, then changes. Peel the tab, press it onto the back of the tip, peel the second side, and press the tip onto the nail. No drying time and no curing.
Two differences worth knowing. Tabs are repositionable for a moment, which makes them far kinder to a first attempt. And they will not bridge a curve — if your nail is flatter or more curved than the tip, a flat tab contacts only along the middle and lifts at the edges. That is a job for glue. Full comparison in glue vs sticky tabs.
Five mistakes, and what they look like afterwards
| What you did | What you see | The fix next time |
|---|---|---|
| Skipped the prep wipe | Lifts within a day or two, cleanly | Wipe with alcohol immediately before gluing |
| Too much glue | Squeeze-out at the cuticle, sore skin | Thin layers on both surfaces |
| Tip too wide | Catches on everything; lifts at sidewalls | Size down; file sidewalls after |
| Held for five seconds | Tip shifts or lifts at one edge | Hold twenty to thirty seconds |
| Washed up an hour later | First nail gone by the evening | Two hours before hot water |
On cuticles, specifically
Step 3 says push, not cut, and that is deliberate. The AAD's guidance is explicit: do not bite fingernails or remove the cuticle — doing so can damage the nail, and its artificial-nail guidance adds that cuticles protect the nail and surrounding skin from infection.
Pushing the cuticle back gently exposes slightly more nail plate to bond to, which is the practical benefit you were after anyway. Softening with cuticle oil or warm water first makes it easier — just do it the night before, not immediately before gluing, or you will undo step 6.
The first two hours, and the fortnight after
Cyanoacrylate reaches a working bond in seconds and a full cure over hours. The first two hours are when most first-nail failures happen, and the causes are hot water, washing up and showering.
After that, the things that extend a set are dull and effective: gloves for washing up, drying your hands properly, and not using your nails as tools — which the AAD lists among its healthy-nail basics for good reason. More in how to make press-ons last longer.
Picks
What the method needs
A set usually includes glue. These are what to reach for when it does not, or when you want a short wear instead.
A strong hold on sets that came without glue
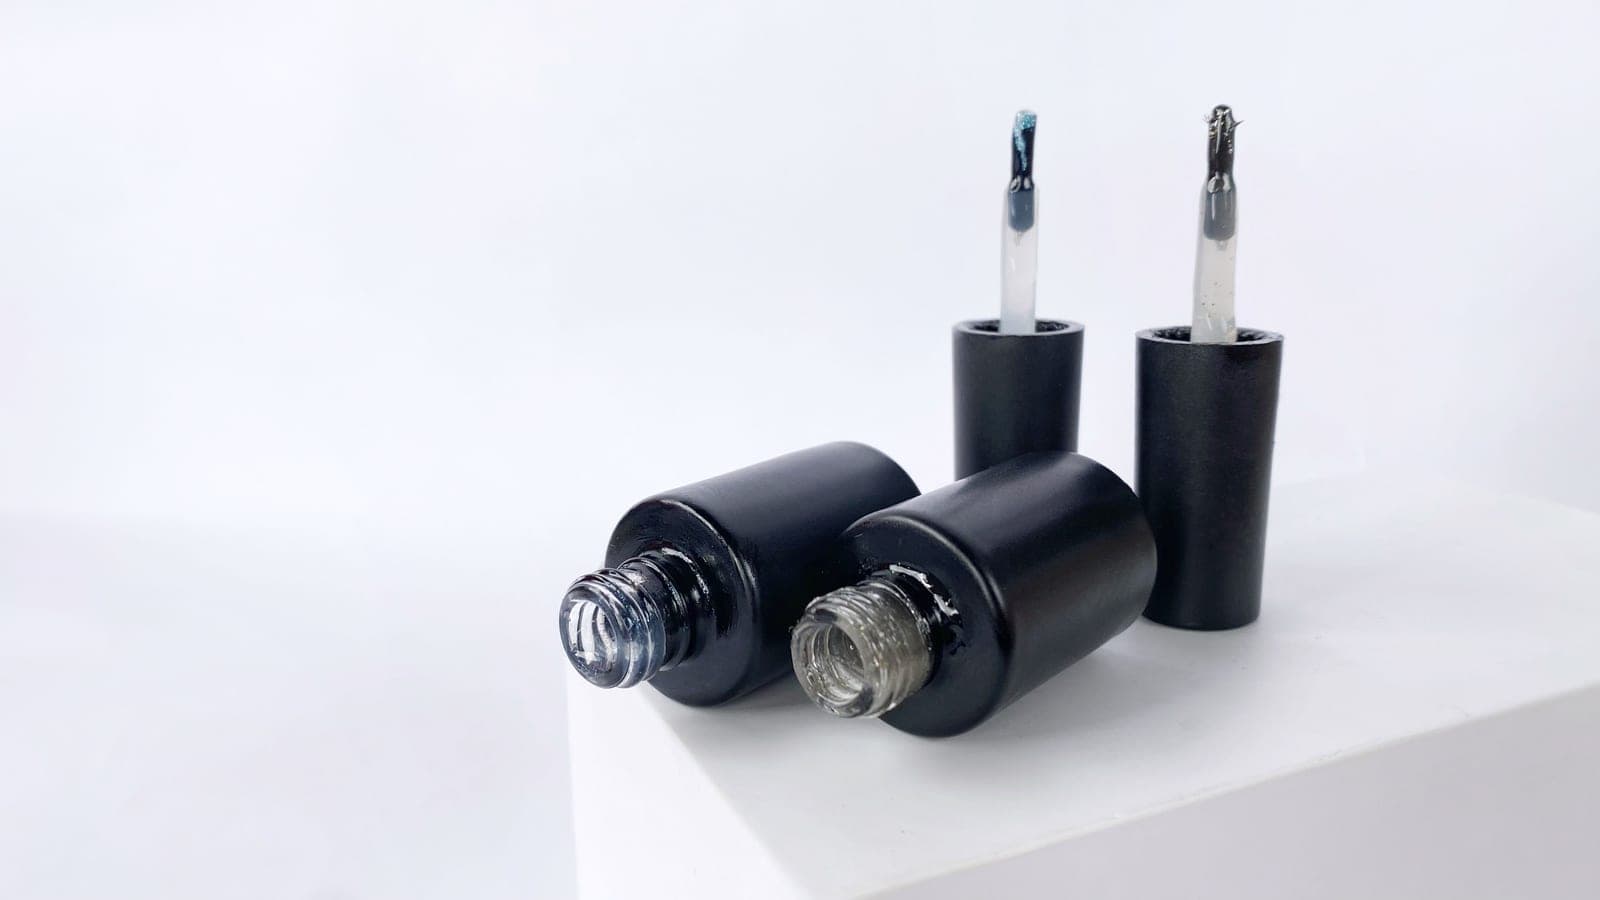
KISS PowerFlex Maximum Speed Nail Glue
A three-second bond and a nozzle tip, which is the combination that stops glue flooding your cuticle.
- Size
- 0.10 oz (3 g)
- Brand bond claim
- Sets in about 3 seconds
Skip ifSkip this if you are new to press-ons. A slower brush-on glue gives you time to slide a nail into place.
A set you want off again in a few days
Glamnetic Adhesive Nail Tabs
Tabs with a published wear figure, which is the honest way to sell a short-wear adhesive.
- Brand wear claim
- Up to 5 days
- Type
- Pre-cut adhesive tabs
Skip ifSkip this if your nails are strongly curved. A flat tab cannot bridge a curve, and the set will lift at the edges.
The one product to buy if you buy only one
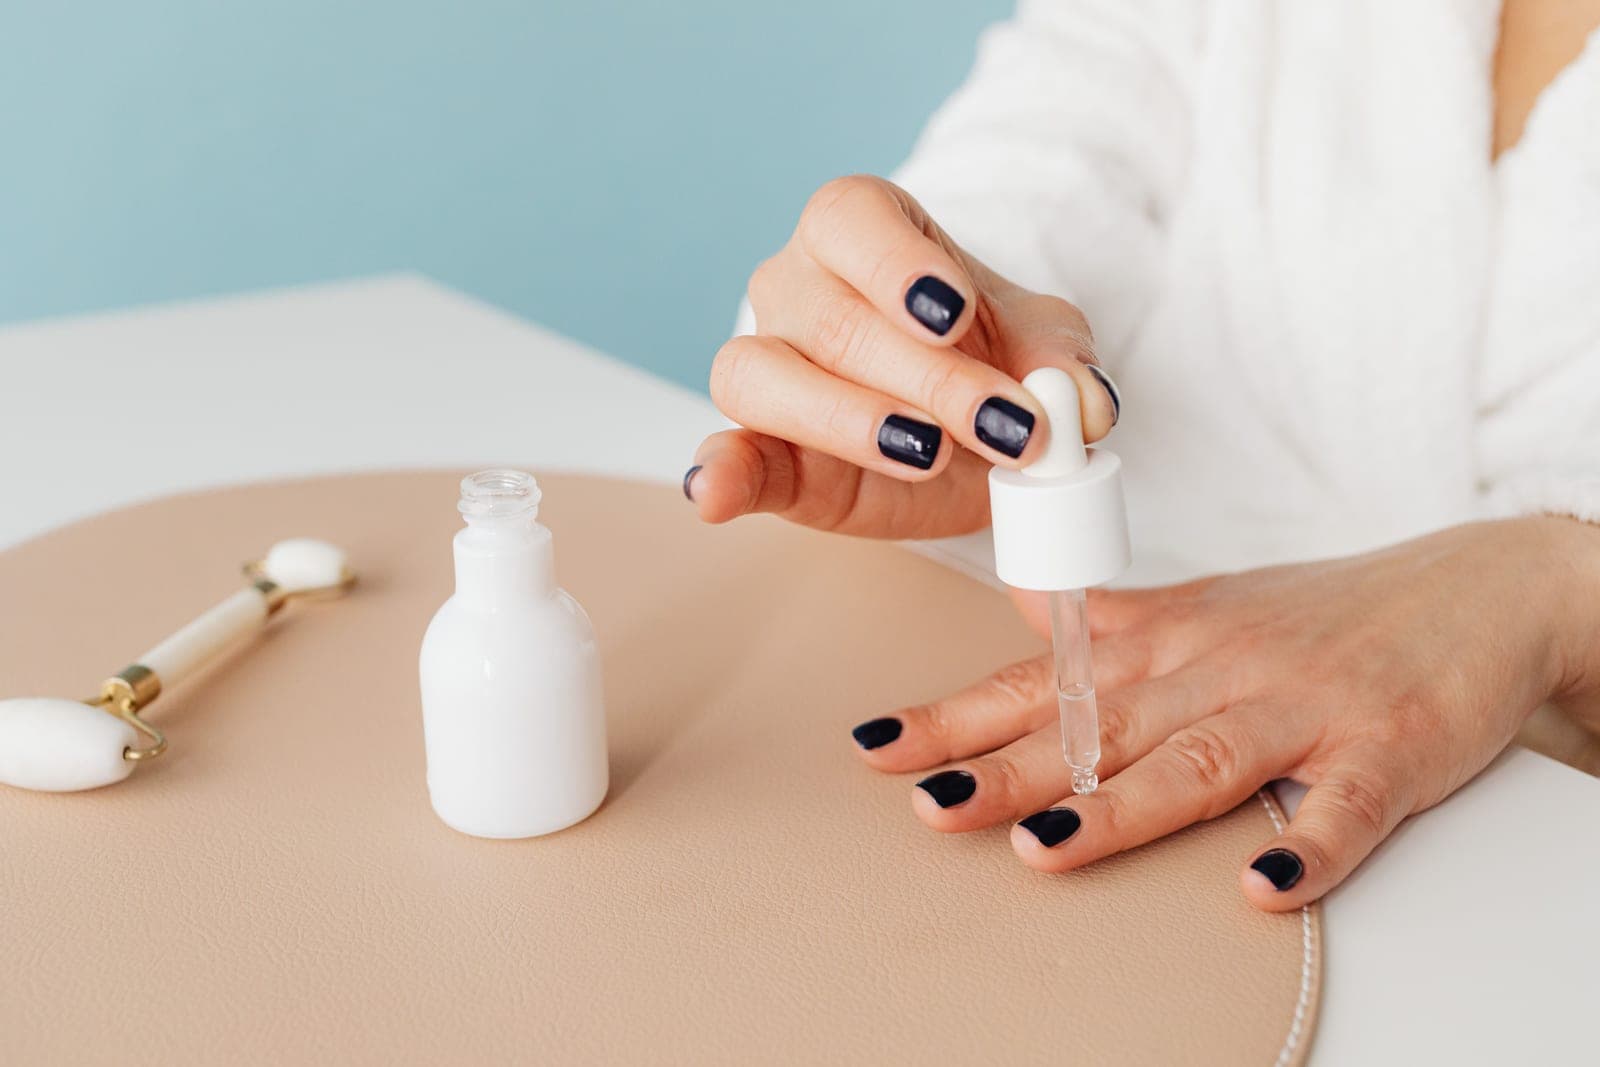
CND SolarOil Nail & Cuticle Care
Jojoba-led, which is the reason it sinks in rather than sitting on top — and the reason it is the salon default.
- Oils
- Jojoba, vitamin E, rice bran, sweet almond
- Use
- Daily, top and underside of the nail
Skip ifSkip this if you will not use it daily. A cuticle oil in a drawer is money spent on nothing.
FAQ
Frequently asked questions
How do you apply press-on nails so they last?
Size each tip first, prep the nail with the pad or alcohol to remove oil, apply thin glue to both the tip and the nail edge to edge, press for twenty to thirty seconds, and avoid hot water for two hours.
Should press-on nails be bigger or smaller than your nail?
Smaller, as a rule. An overhanging tip leaves a lip at the sidewalls that catches and levers the set off. On wide nail beds the reverse applies, because an oversized tip can be filed back.
Do you have to buff your nails before press-ons?
A light pass to break the shine helps the glue key in. Do not buff aggressively — you are dulling the surface, not thinning the nail.
How long should you press each nail down?
Twenty to thirty seconds of firm pressure. Five seconds is the most common shortcut and the most common reason a tip shifts or lifts at one edge.
Can you shower after applying press-on nails?
Wait at least two hours. Hot water before the glue has fully cured is how most sets lose their first nail on day one.
Keep reading
Related guides
- Making press-ons last longer →
After the application is done.
- Removing press-ons safely →
For two weeks from now.
- The best nail glue →
If the set came without any.
- The best press-ons →
Sizing is ranked first.
- Glue vs sticky tabs →
Which adhesive to use.
Sources
- —AAD — 11 tips for healthy nails · aad.org
- —AAD — Reducing artificial nail damage · aad.org
- —KISS — PowerFlex Maximum Speed Nail Glue · kissusa.com
- —Glamnetic — Adhesive Nail Tabs · glamnetic.com
- —CND — SolarOil · lovecnd.com