Guide · Guides
How to use a nail drill, for beginners
Set the speed low, hold it like a pen, and never stop moving. Everything else is detail.
Written by Janet H. · Owner, Janet Media Group
Published
Tip & Topcoat is reader-supported. Product links go through our affiliate resolver and we may earn a commission from qualifying purchases, at no extra cost to you. Prices belong to the retailer and change constantly, so every button opens the live price on Amazon rather than showing you a number that may already be wrong.
Part of the guides hub.
Using a nail drill safely · 8 steps
Step 01
Fit a safety bit
Choose a ceramic safety bit with a rounded, uncut top so it skates off skin rather than cutting it. Insert it fully and lock the chuck.
Step 02
Set the speed low
Start at the bottom of the speed dial. You can always increase; you cannot undo material you have removed.
Step 03
Set the rotation direction
Forward for the right side of the nail with your right hand, reverse for the left side. The bit should always pull away from the skin, never into it.
Step 04
Hold it like a pen
Grip the handpiece like a pen, and rest your little finger on the hand you are working on so both hands move together.
Step 05
Work on product only
Sweep the bit across gel, acrylic or dip. Stop before the natural nail plate and leave a thin layer for acetone to dissolve.
Step 06
Keep the bit moving
Sweep continuously from side to side. Never hold the bit in one place — that is what creates grooves and heat.
Step 07
Check every few passes
Brush the dust away and look at what you have removed. Dust hides the surface, which is how people go too far without noticing.
Step 08
Finish with acetone and oil
Wrap the remaining thin layer with acetone for ten minutes, wipe it away, then work cuticle oil into each nail.
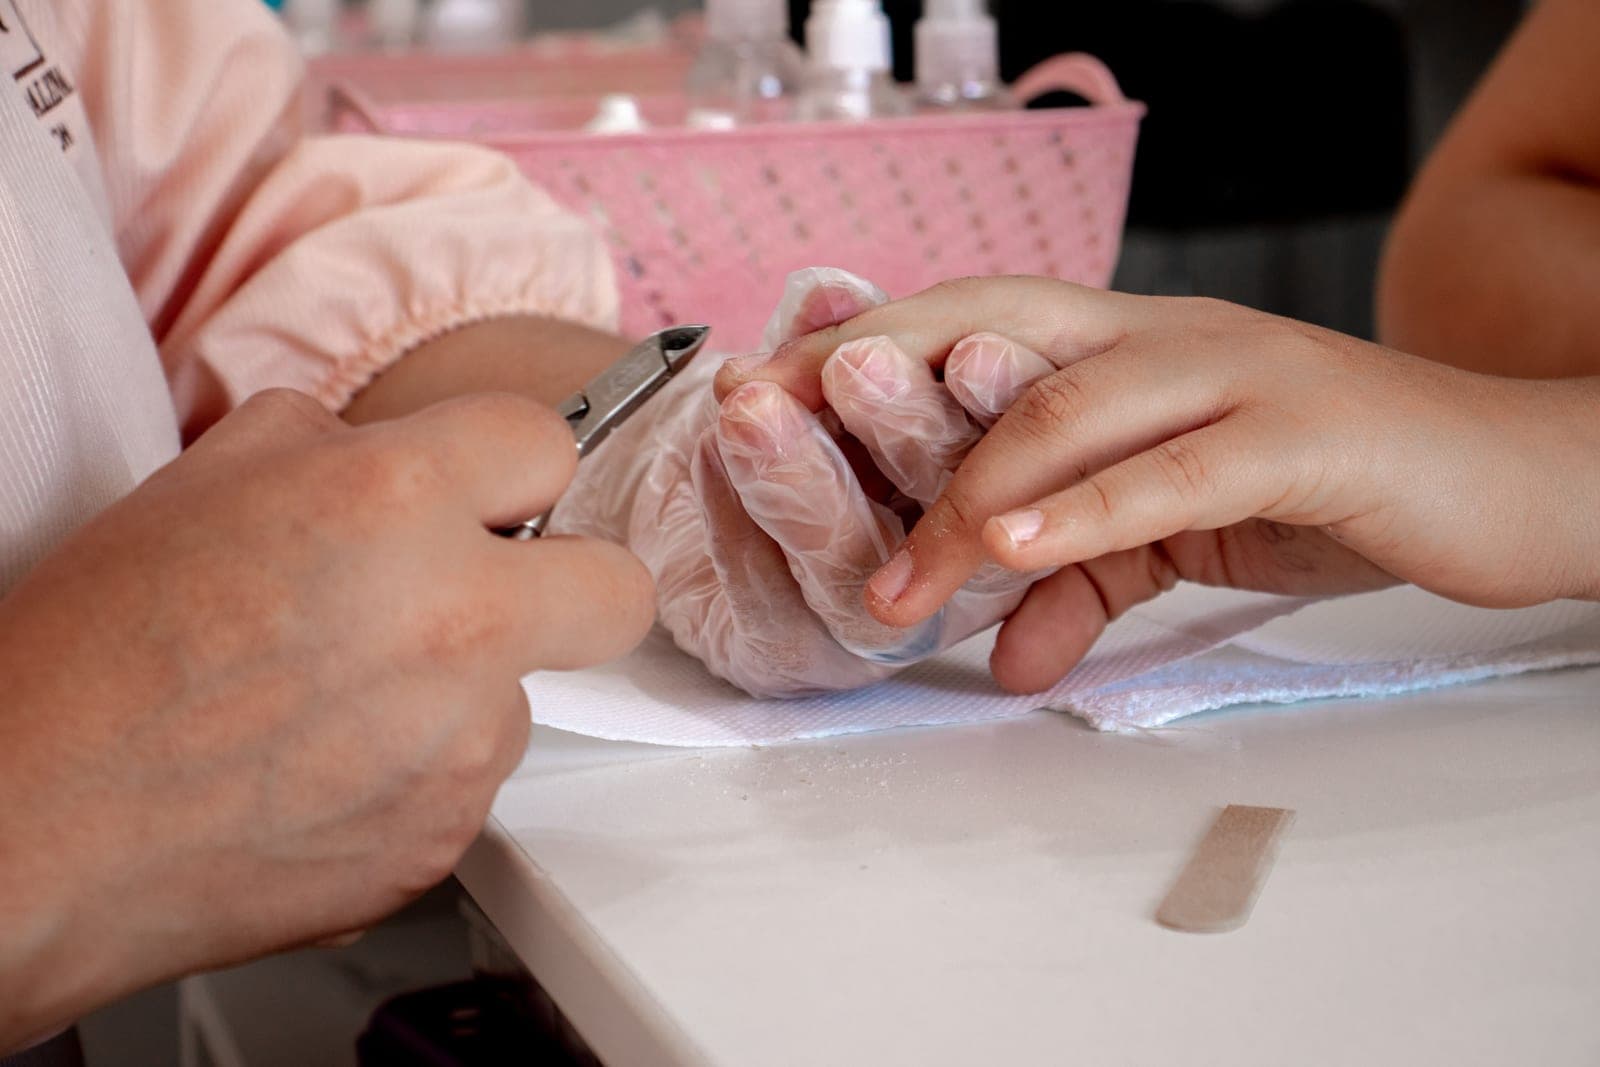
What speed to actually use
Drills advertise 30,000 and 35,000 RPM. You will almost never need either. The practical rule is: the lowest speed that cuts. If the bit is skating across the surface without removing anything, increase a little. If it is grabbing or jumping, decrease.
Higher speed removes more material per second, which is helpful when you are grinding through a thick acrylic set and dangerous when you are half a millimeter from a nail bed. NAILS Magazine flags too-high RPM specifically as a cause of nicks, slips and rings of fire.
An LCD speed readout is genuinely useful here, because it lets you find a setting that worked and return to it rather than guessing at a dial position.
How to hold it, and why it matters
Hold the handpiece like a pen, not like a screwdriver. A pen grip gives you fine control from your fingers; a fist grip moves your whole forearm and makes small adjustments impossible.
Then anchor. Rest your little finger — the one on the hand holding the drill — against the hand you are working on. Now both hands move together, so a bump to one is a bump to both and the bit stays where it is relative to the nail. Every professional does this and almost no beginner does.
This is also the argument for a foot pedal: it lets you start and stop without breaking that anchored position.
Using a drill around the cuticle
This is the highest-risk area and the one people most want to tidy. Three rules.
Safety bit only. A rounded, uncut top is what keeps the bit from cutting skin when it inevitably touches it.
Check your rotation direction. Run the wrong way and the bit pulls toward the sidewall instead of away from it. This is the single most common way people catch skin.
Do not cut the cuticle. The AAD advises skipping cuticle trimming altogether, because cuticles are a barrier against infection. A drill around the cuticle should be removing product that has crept onto the skin line, not the cuticle itself.
Changing bits
- Turn the drill off. Not idling — off.
- Release the chuck. Most home drills use a twist collar; some use a small lever. Turn it until the bit slides freely.
- Pull the bit straight out. If it resists, the chuck is not fully released. Never force it.
- Insert the new bit fully, right up to the shoulder. A partly-inserted bit wobbles, and wobble is vibration you cannot control.
- Lock the chuck and test at low speed before touching a nail.
All the drills on this site take the standard 3/32 in shank, so bits are interchangeable between them. See the grit guide for which bit to fit.
Practice on something that is not your hand
Apply gel to an old press-on tip and remove it with the drill. Ten minutes of this teaches you what the bit feels like cutting product, what it sounds like when it is about to break through, and how quickly material disappears — at zero cost.
Then start on a thumb rather than a little finger. Thumbs have the most nail plate and the most margin for error, and by the time you reach the awkward nails you will have found your speed.
Picks
The kit this method assumes
A controllable drill, a safety bit, and oil for afterwards. That is genuinely all it takes.
A first drill you will not immediately hurt yourself with
MelodySusie SC320G Rechargeable Nail Drill
Cordless, one-button forward/reverse, and a dial that genuinely starts near zero — the combination beginners need.
- Speed
- 0–30,000 RPM, dial
- Power
- 4000 mAh, 8–12 h per charge
Skip ifSkip this if you want a pedal so your free hand can steady the finger. The corded Scarlet has one.
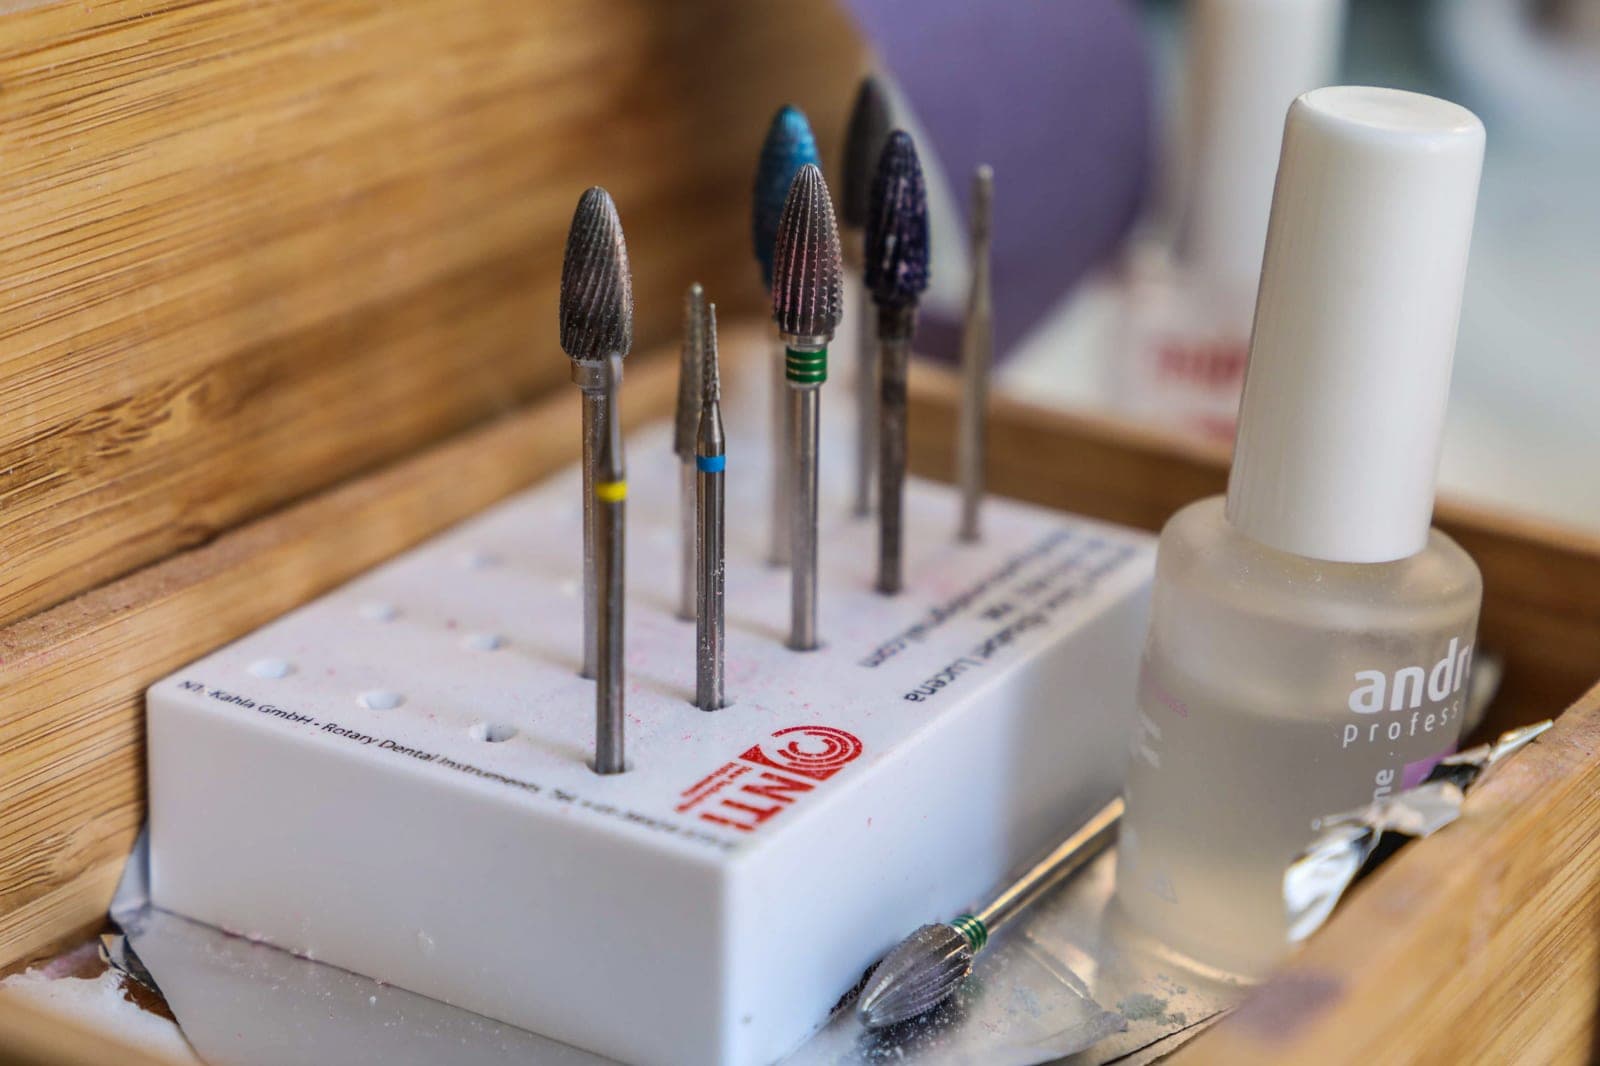
Taking gel and dip off without touching the skin
Makartt Ceramic Safety Nail Drill Bit Set
Ceramic safety bits in the standard 3/32 in shank — the rounded top is what keeps the bit off your cuticle.
- Shank
- 3/32 in (standard)
- Type
- Ceramic, safety (rounded) top
Skip ifSkip this if you are removing thick acrylic every week. Carbide cuts bulk faster and survives more abuse.
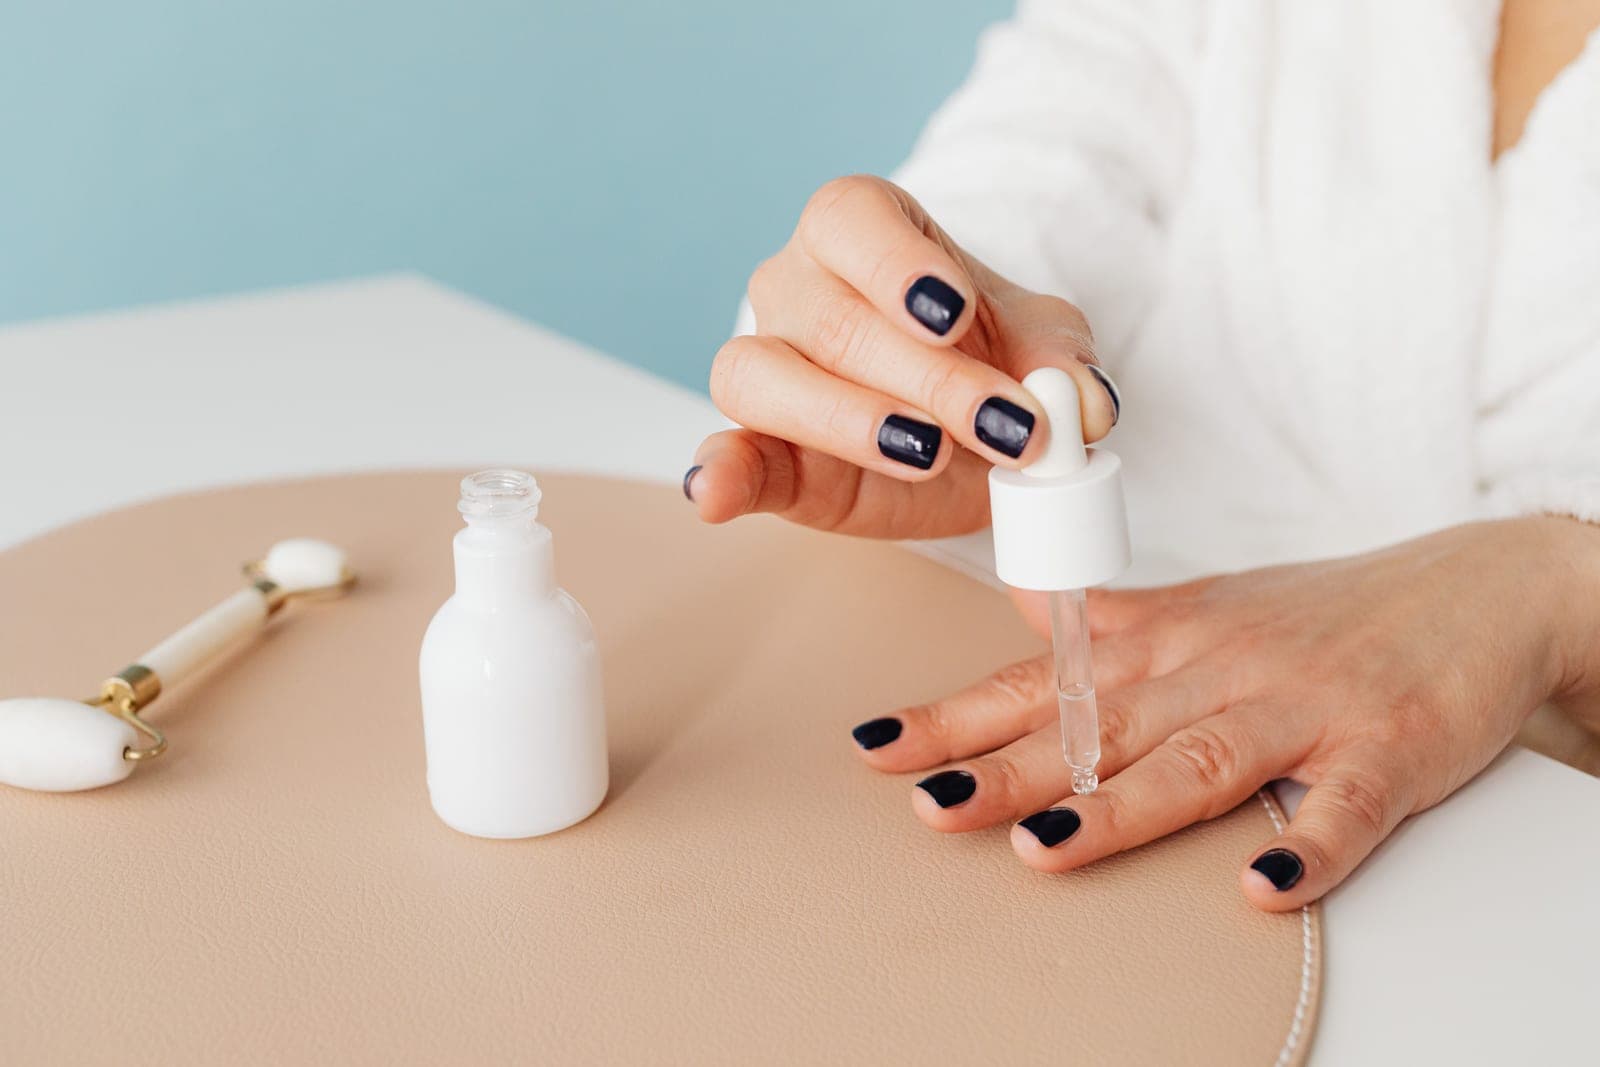
The one product to buy if you buy only one
CND SolarOil Nail & Cuticle Care
Jojoba-led, which is the reason it sinks in rather than sitting on top — and the reason it is the salon default.
- Oils
- Jojoba, vitamin E, rice bran, sweet almond
- Use
- Daily, top and underside of the nail
Skip ifSkip this if you will not use it daily. A cuticle oil in a drawer is money spent on nothing.
FAQ
Frequently asked questions
How do you use a nail drill for beginners?
Fit a safety bit, start at the lowest speed, hold the handpiece like a pen with your little finger anchored on the working hand, and sweep continuously without pressing. Stop before the natural nail.
What speed should I use on a nail drill?
The lowest speed that actually cuts. Too-high RPM is specifically flagged by nail professionals as a cause of nicks, slips and rings of fire.
How do you use a nail drill on cuticles?
Safety bit only, correct rotation direction so the bit pulls away from skin, and remove product from the skin line rather than the cuticle itself — the AAD advises against cutting cuticles at all.
How do you change a nail drill bit?
Turn the drill off, release the chuck collar, pull the bit straight out, insert the new one fully to the shoulder, lock and test at low speed. All standard nail drills take 3/32 inch bits.
Which direction should a nail drill spin?
Whichever direction pulls the bit away from the skin for the side you are working on. That is why forward/reverse matters, and why left-handed users need reverse constantly.
Keep reading
Related guides
- Are nail drills safe? →
Read this first.
- The bit grit guide →
Which bit for which job.
- Drills for beginners →
The machines this suits.
- Drills for gel removal →
The main home use.
- Removing gel with acetone →
How to finish the job.
Sources
- —NAILS Magazine — 5 things you should know about e-files · nailsmag.com
- —AAD — Reducing artificial nail damage · aad.org
- —MelodySusie — SC320G · melodysusie.com
- —Makartt — nail drill bits · makartt.com
- —CND — SolarOil · lovecnd.com