Guide · Guides
An at-home manicure, start to finish
Ten steps, about twenty-five minutes. Plus a shorter version if this is your first one.
Written by Janet H. · Owner, Janet Media Group
Published
Tip & Topcoat is reader-supported. Product links go through our affiliate resolver and we may earn a commission from qualifying purchases, at no extra cost to you. Prices belong to the retailer and change constantly, so every button opens the live price on Amazon rather than showing you a number that may already be wrong.
Part of the guides hub.
An at-home manicure · 10 steps
Step 01
Remove old polish
Take off any existing color with remover on a cotton pad. Do not skip this even for a touch-up — old polish under new polish lifts as one.
Step 02
Shape the free edge
File dry nails to shape with a fine glass file. Cut straight across and round slightly at the tips, which the AAD advises for maximum strength.
Step 03
Soak briefly
Two to three minutes in warm water is enough to soften the cuticle. Longer waterlogs the nail plate, which makes polish adhere badly.
Step 04
Push cuticles back
Push gently with a wooden or steel pusher. Do not cut them — the AAD advises against removing cuticles, which are a barrier against infection.
Step 05
Buff lightly, if at all
One light pass to smooth ridges. Buffing the plate thin is a real and common mistake.
Step 06
Wipe with remover
Wipe each nail with remover on a pad to strip the oil left by soaking and handling. This is the step that decides adhesion.
Step 07
Apply base coat
One thin coat of a rubberized base coat, capping the free edge.
Step 08
Apply two thin color coats
Thin enough that the first looks streaky. Cap the edge on each one.
Step 09
Apply top coat
One coat of fast-dry top coat over everything, capping the edge again.
Step 10
Wait, then oil
Twenty minutes before using your hands properly. Then cuticle oil — the oil goes on last, once the polish is dry.
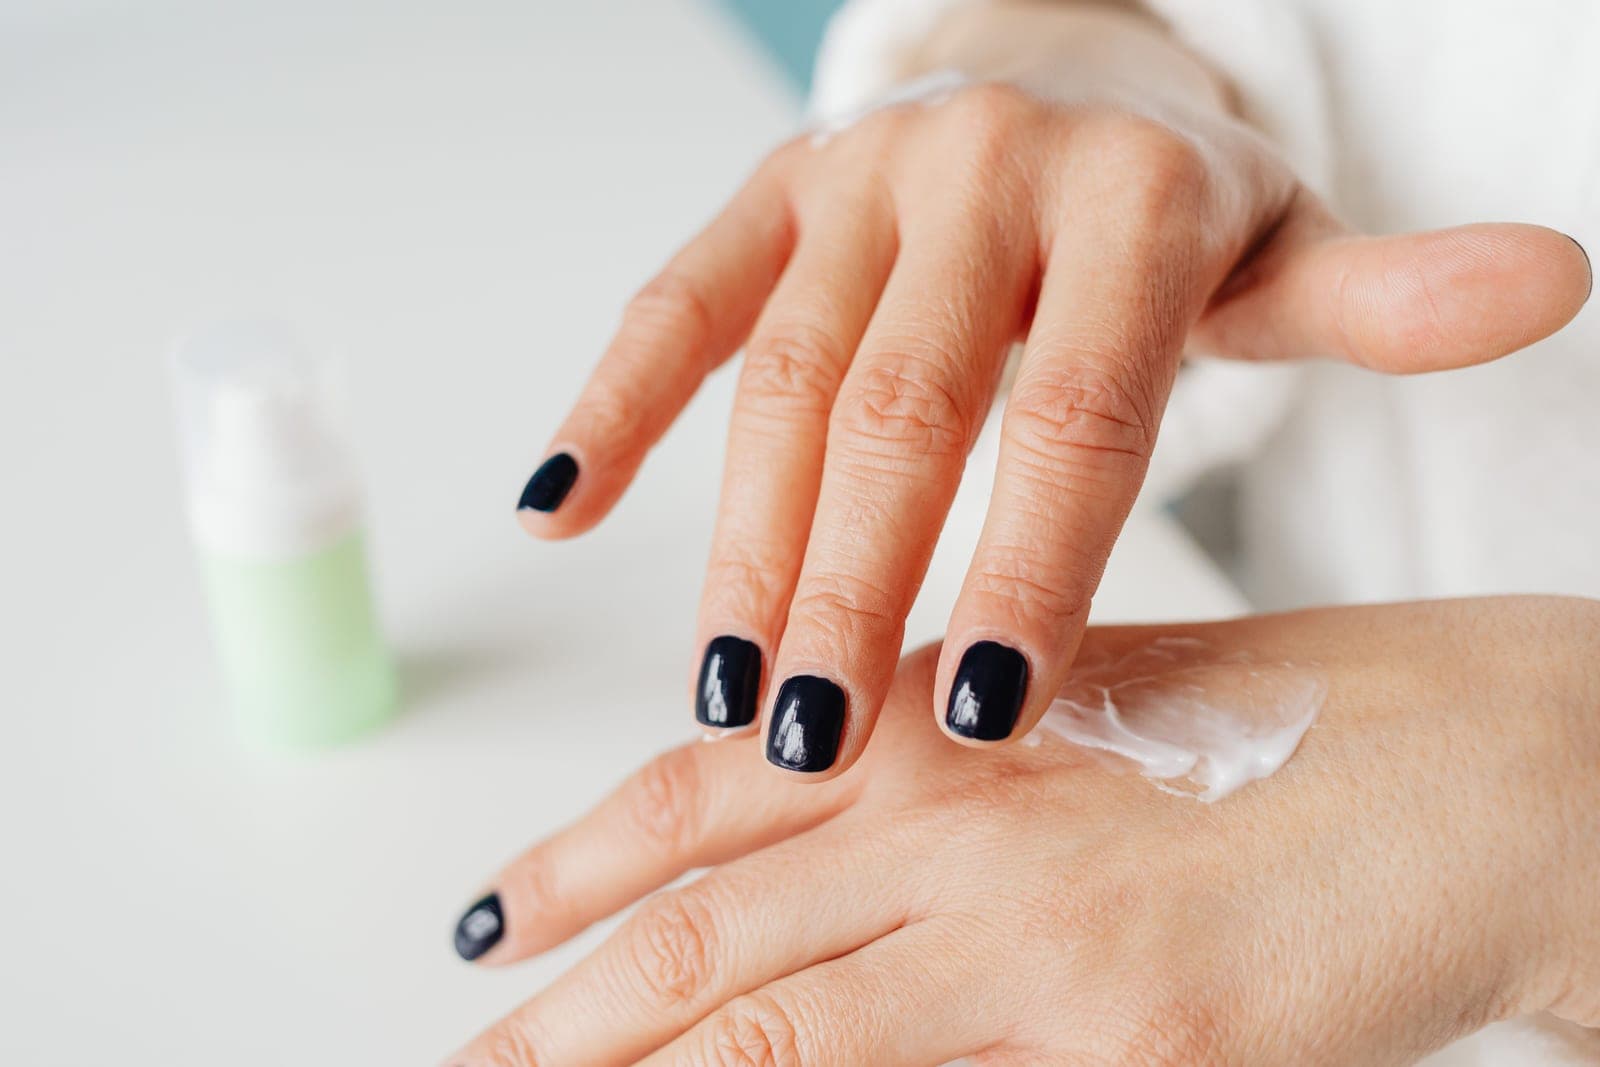
The counterintuitive part: soak briefly, and wipe after
Most home routines soak for ten minutes because it feels like the luxurious part. It is actively counterproductive past about three minutes.
A soaked nail plate absorbs water and swells. Polish applied to a swollen nail is applied to a nail that is about to shrink back, and as it does, it takes the polish's grip with it. This is a well-known reason home manicures chip earlier than salon ones.
So: soak just long enough to soften the cuticle, push it back, then wipe every nail with remover before the base coat. That removes both the water and the oil from your hands. Step 6 is the one that makes steps 7 to 9 work.
Cuticles: push, never cut
This is worth being firm about because almost every manicure kit sold includes a nipper.
The AAD's guidance is explicit: do not bite fingernails or remove the cuticle — doing so can damage the nail, and its artificial-nail guidance adds that cuticles protect the nail and the surrounding skin from infection, and trimming them lets bacteria and germs in more easily.
Pushing the cuticle back achieves the visible result — a clean line at the base of the nail — without breaking the seal. If the cuticle is dry and stuck down, that is an oil problem, not a cutting problem. See cuticle oils.
The short version, for a first attempt
If ten steps feels like a lot, four of them carry most of the result:
- File to shape with a fine file.
- Wipe every nail with remover.
- Base, two thin colors, top — capping the free edge on each.
- Wait twenty minutes, then oil.
Skip the soak, skip the buffing, skip the cuticle work entirely on a first attempt. Those are refinements; the four above are the manicure.
How long it actually takes
| Stage | Time |
|---|---|
| Remove, file, soak, push | ~8 min |
| Wipe and base coat | ~2 min |
| Two color coats, with drying between | ~8 min |
| Top coat | ~2 min |
| Waiting to be fully dry | ~20 min |
The honest total is about forty minutes including the waiting, of which twenty-five is active. That is comparable to a salon appointment without the travel, which is the real time comparison in salon versus at home.
Picks
The kit this assumes
Four things cover the whole routine. Nothing here needs a lamp or a drill.
Filing without tearing the nail's free edge
Tweezerman Glass Manicure Set
A glass file and buffer plus a clipper and pusher — and the glass file is the part that matters for weak nails.
- Contents
- Clipper, steel pusher, glass file, glass buffer
- File
- Glass, one pointed and one rounded end
Skip ifSkip this if your kit lives loose in a handbag. Glass and handbags do not mix for long.
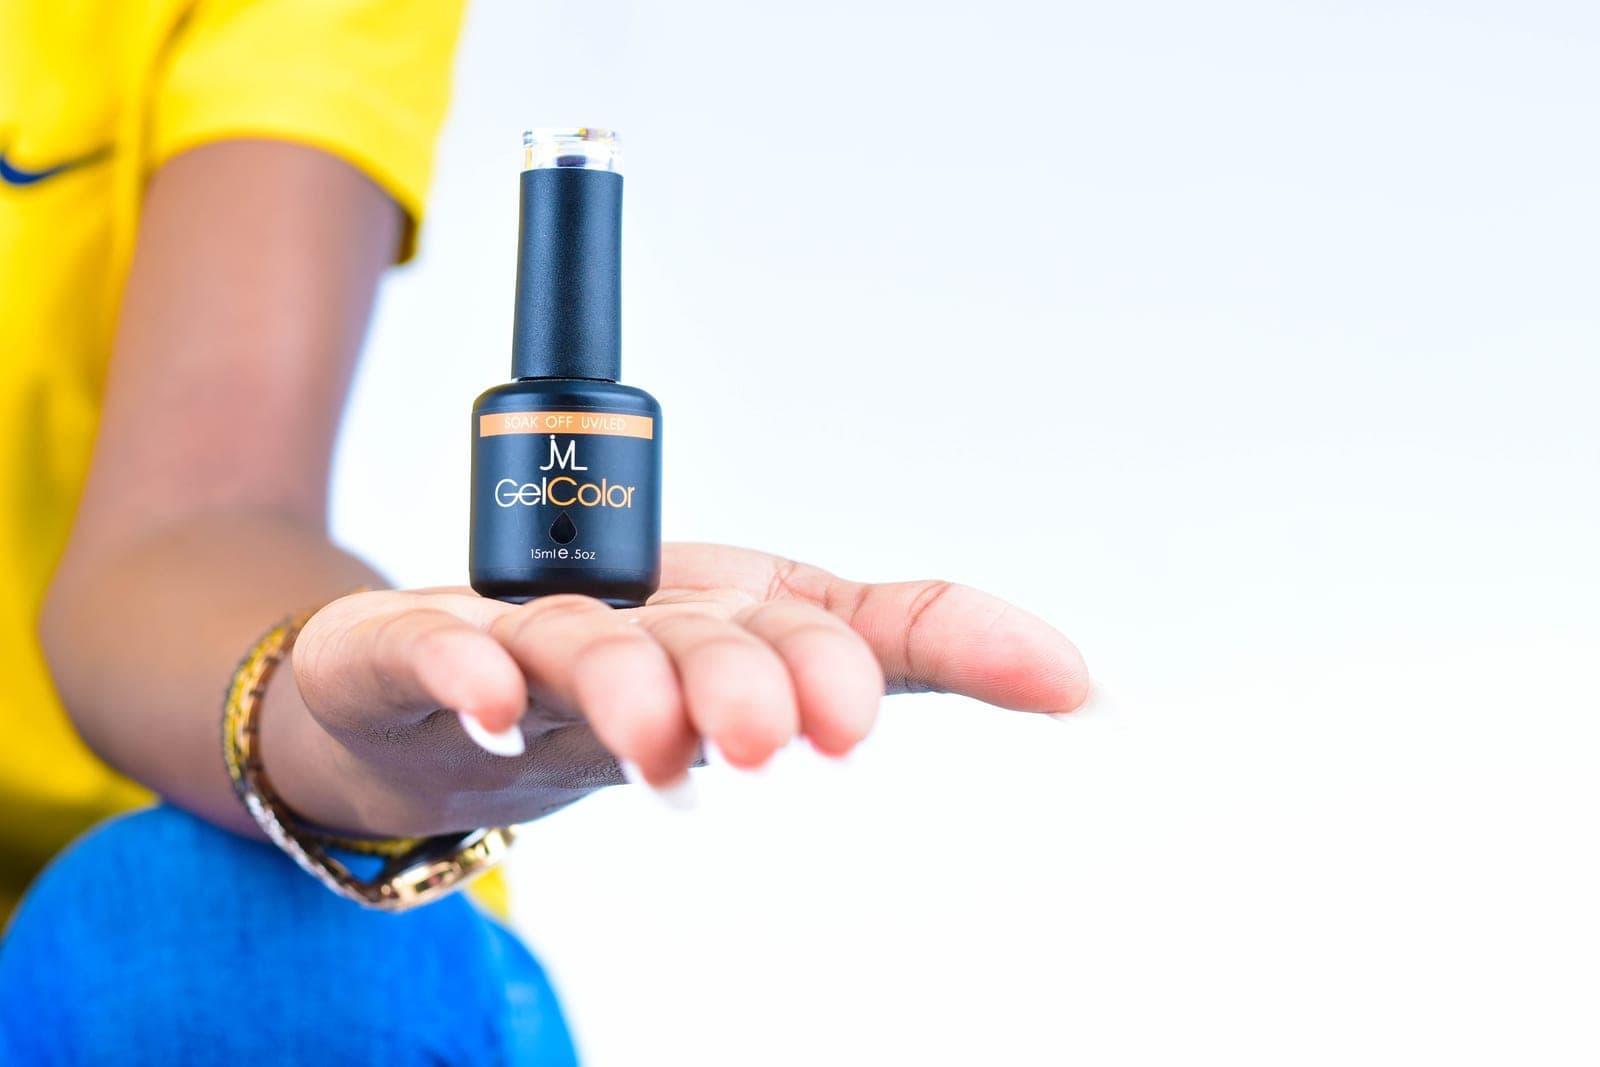
Polish that peels off in sheets by day three
ORLY Bonder Rubberized Basecoat
A rubberized resin base that grips color the way double-sided tape grips paper — the brand's own analogy, and an accurate one.
- Type
- Rubberized resin base coat
- Brand adhesion claim
- Up to two weeks
Skip ifSkip this if your problem is ridges rather than peeling. A smoothing base coat is the right tool for that.
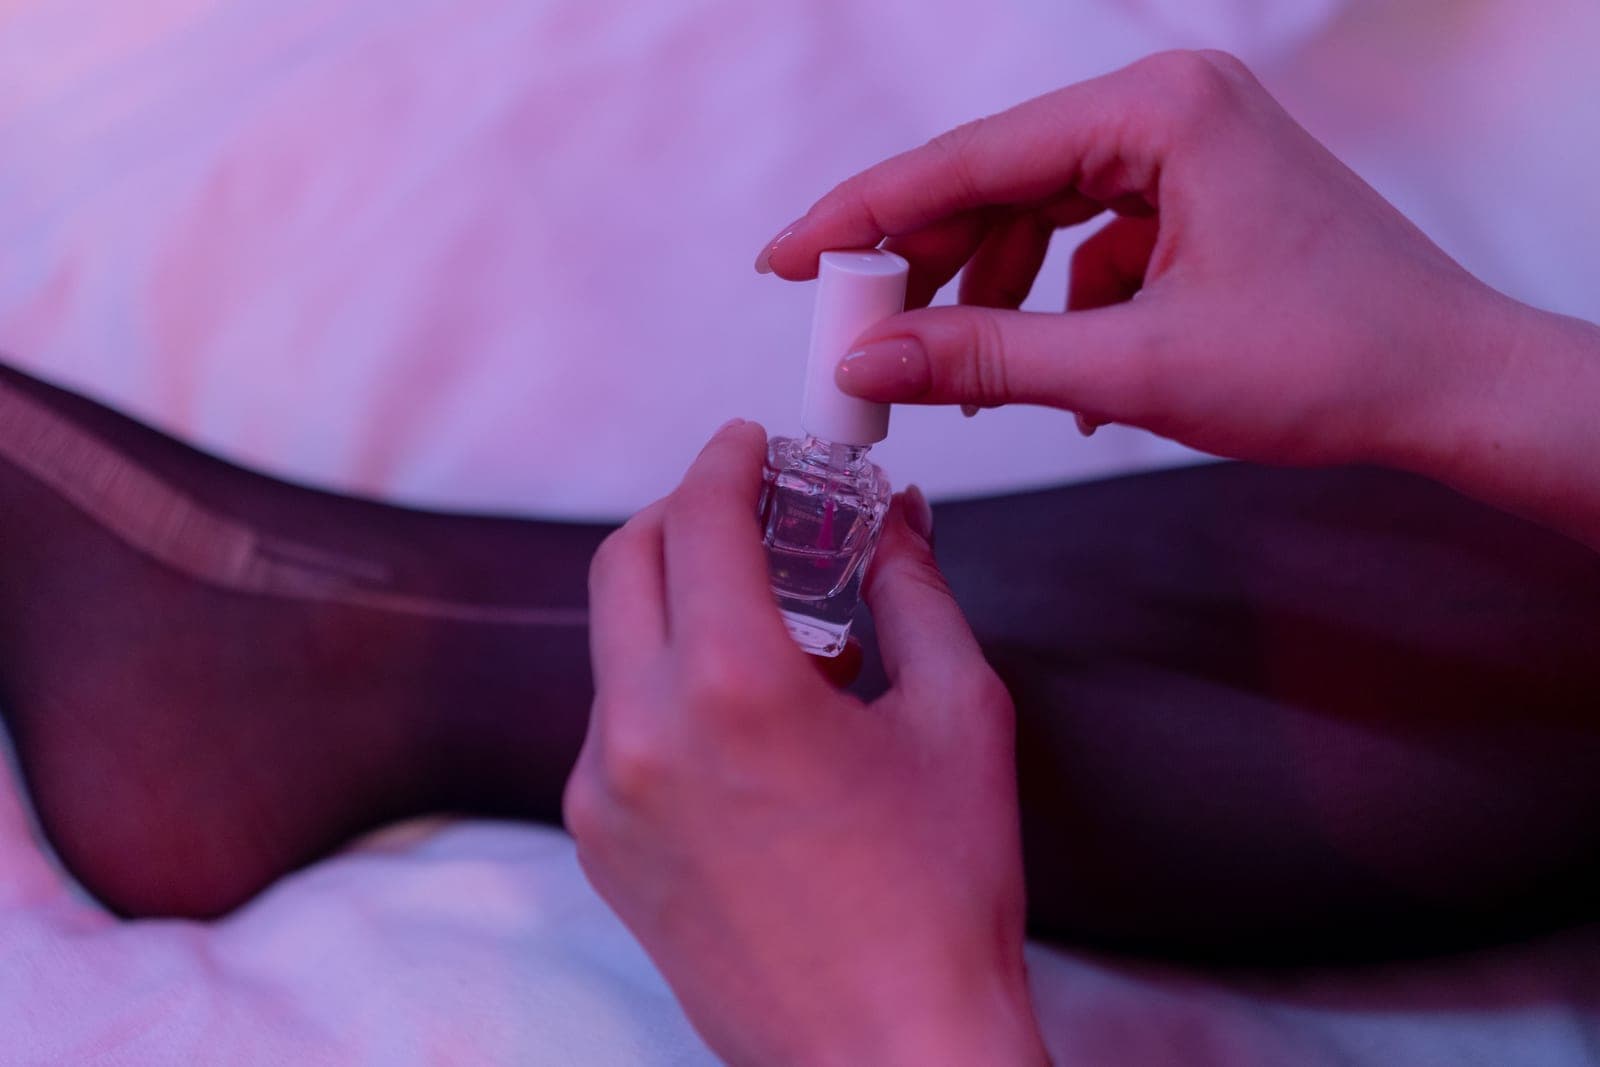
Making an ordinary polish manicure survive the week
Seche Seche Vite Dry Fast Top Coat
The one top coat that bonds through the color to the base coat, turning three separate layers into a single shell.
- Size
- 0.5 fl oz
- Method
- Applied over WET polish
Skip ifSkip this if you like to paint one nail at a time over an evening. This has to go on while the color is still wet.
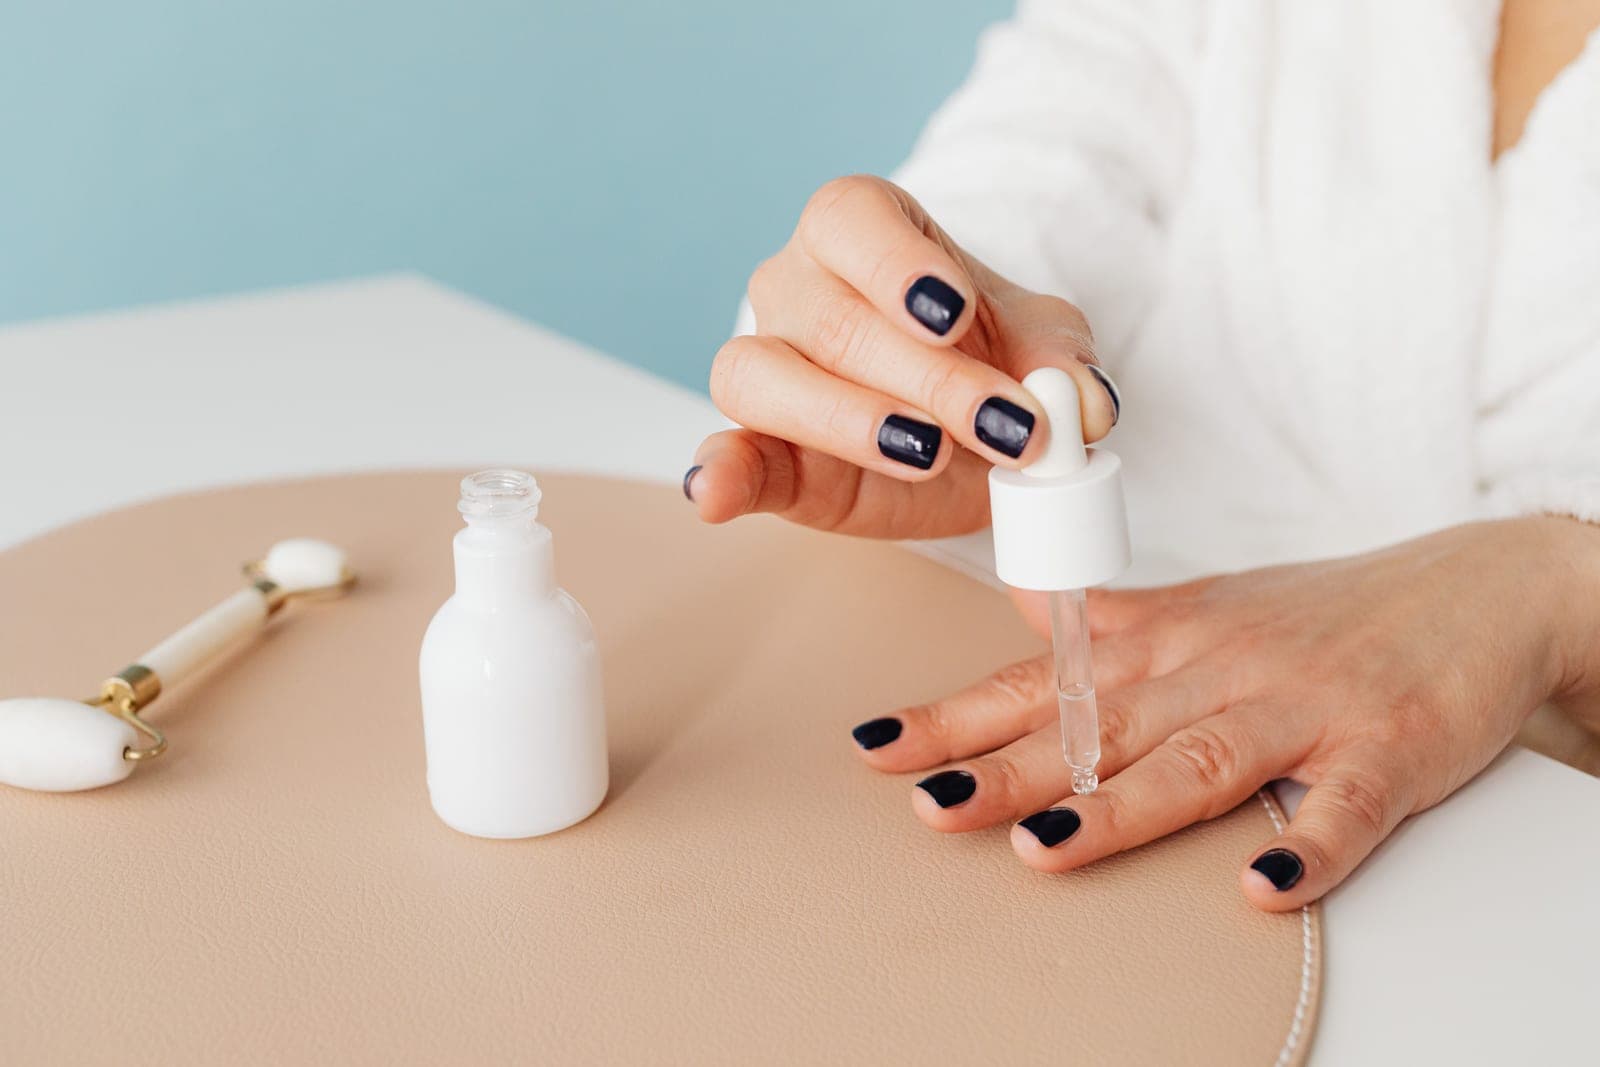
The one product to buy if you buy only one
CND SolarOil Nail & Cuticle Care
Jojoba-led, which is the reason it sinks in rather than sitting on top — and the reason it is the salon default.
- Oils
- Jojoba, vitamin E, rice bran, sweet almond
- Use
- Daily, top and underside of the nail
Skip ifSkip this if you will not use it daily. A cuticle oil in a drawer is money spent on nothing.
FAQ
Frequently asked questions
How do you do a manicure at home?
Remove old polish, file to shape, soak briefly, push cuticles back without cutting, wipe each nail with remover, then base coat, two thin color coats and top coat, capping the free edge each time.
How long should you soak your nails before a manicure?
Two to three minutes, just enough to soften the cuticle. Longer waterlogs the nail plate, which swells and then shrinks back, taking the polish's grip with it.
Should you cut your cuticles during a manicure?
No. The AAD advises against removing cuticles because they protect against infection. Push them back gently instead — the visible result is the same.
How long does an at-home manicure take?
About forty minutes including drying time, of which around twenty-five is active. That is comparable to a salon appointment without the travel.
What is the minimum for a decent home manicure?
File to shape, wipe each nail with remover, base plus two thin color coats plus top coat capping the edge, then twenty minutes of waiting. Skip the soak and cuticle work on a first attempt.
Keep reading
Related guides
- Making polish last longer →
The technique in detail.
- A nail care routine →
What happens between manicures.
- Nail care kits →
The four tools you need.
- A beginner starter kit →
What to buy in order.
- Salon vs at home →
Time and money compared.
Sources
- —AAD — 11 tips for healthy nails · aad.org
- —AAD — Reducing artificial nail damage · aad.org
- —Tweezerman — Glass Manicure Set · tweezerman.com
- —ORLY — Bonder Rubberized Basecoat · orlybeauty.com
- —Seche — Vite Dry Fast Top Coat · seche.com
- —CND — SolarOil · lovecnd.com